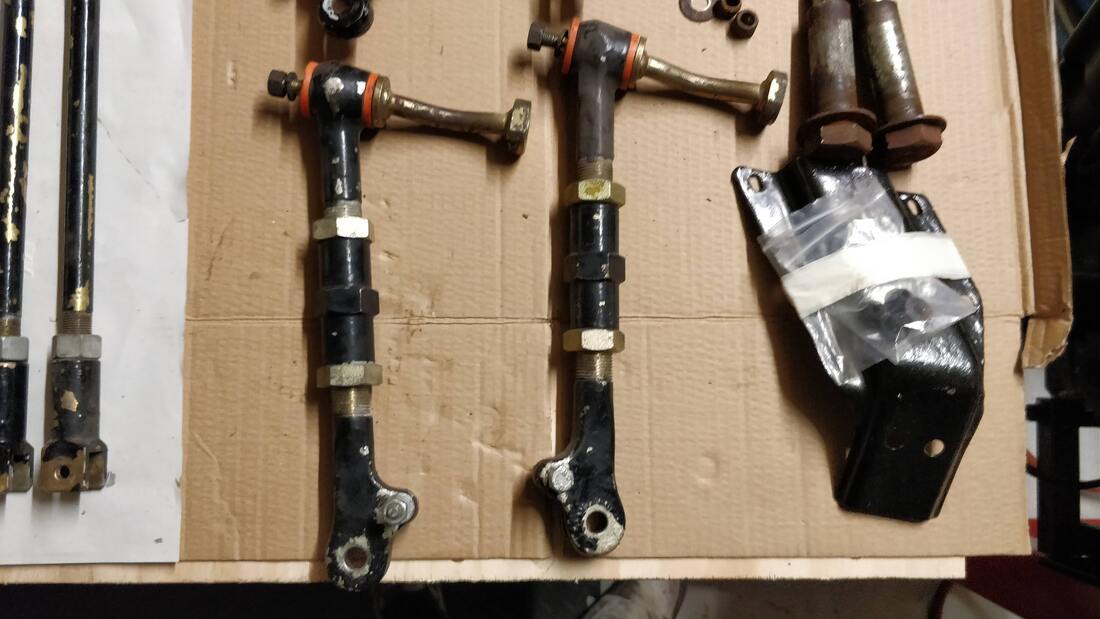
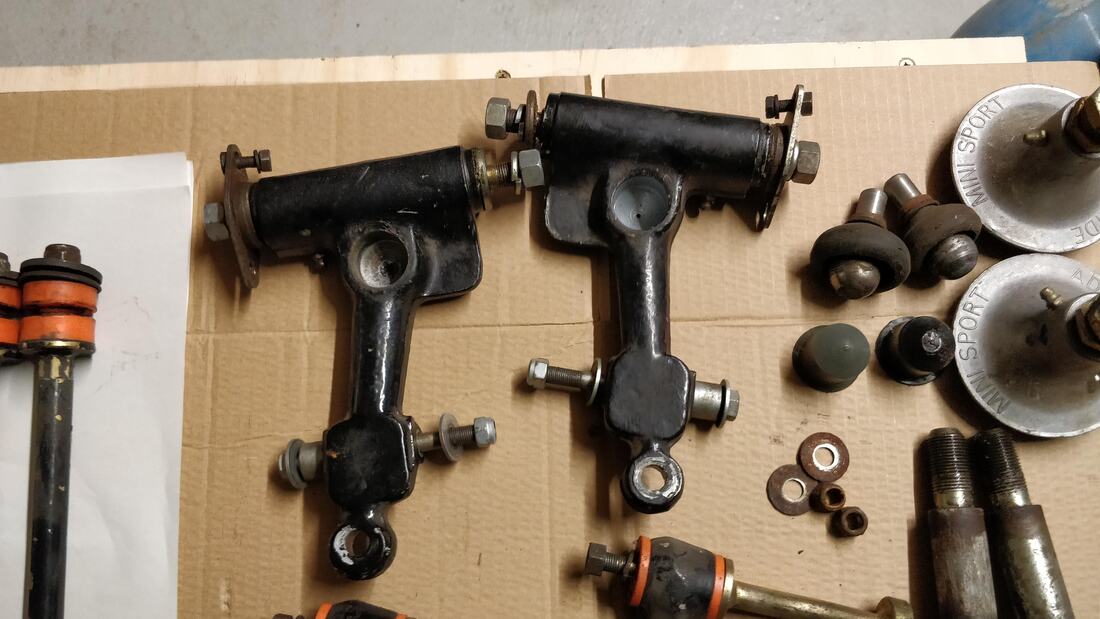
The starting pointThe majority of the running gear was brand new when it was fitted to the car. I had already painted it in black hammerite before fitting it and it hadn't covered any miles under it's own steam. The wear visible is from storage, jacking up and two house move on a car transporter.
0 Comments
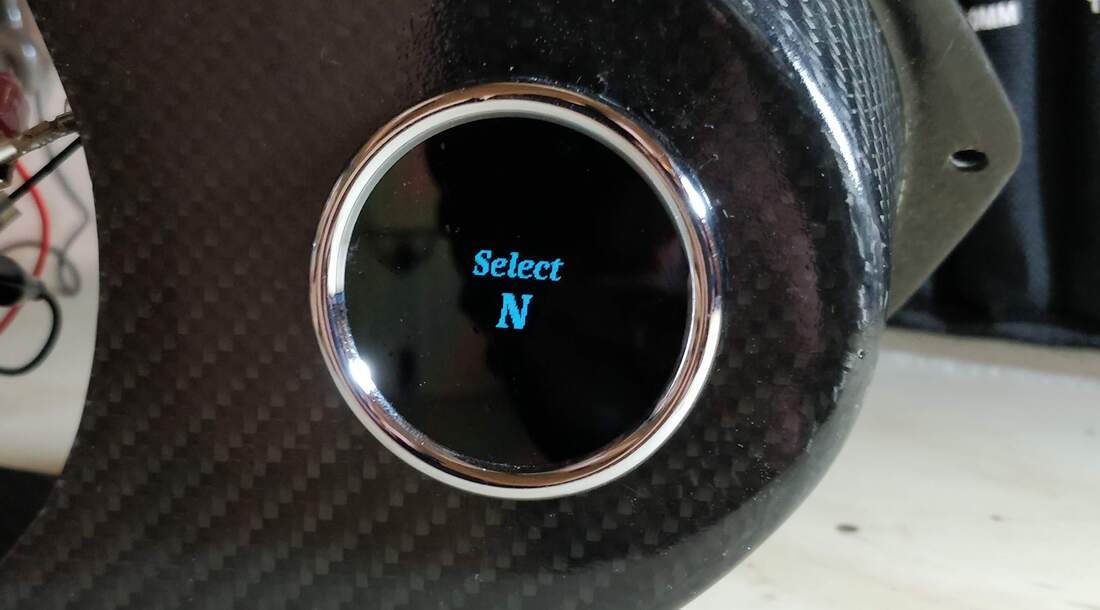 This is the final version of my Arduino controlled gear position gauge. I've refined the design over the last couple of years to a point that I was happy to commit to having a printed circuit board manufactured.
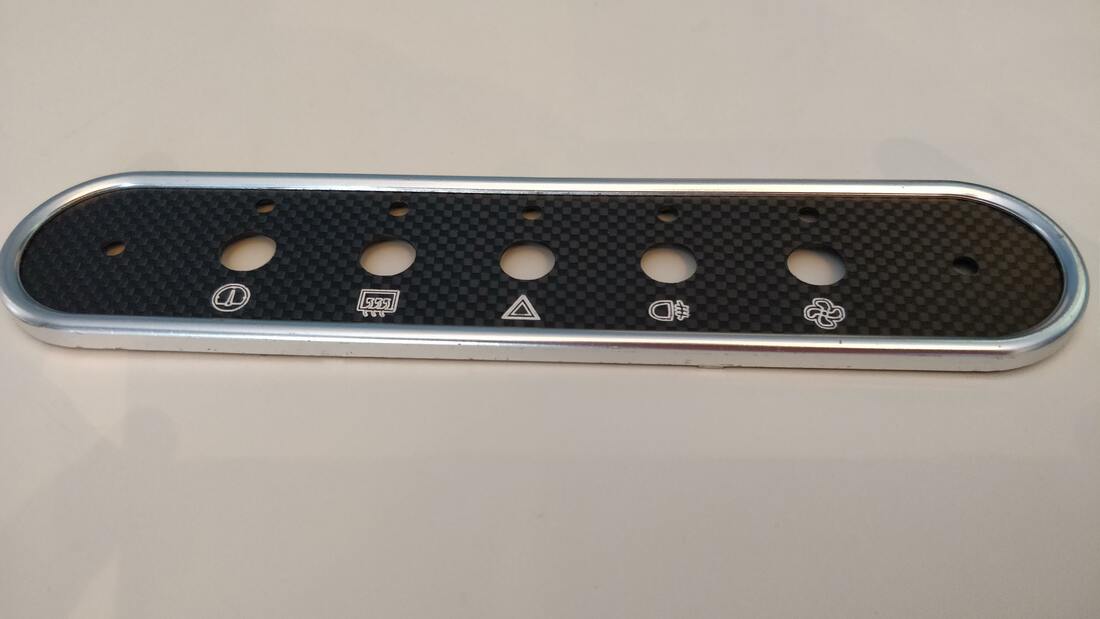 In an effort to tie the interior together I have made this carbon fibre switch panel to match the carbon centre speedometer. I used my new CNC machine to engrave the logos and mill the holes accurately. The logos were created by downloading suitable png icons and converting them to svg's using Inkscape so they could be imported into Fusion360 and used to create tool paths. Once everything was machined I highlighted the logos by applying white enamel and then carefully wiping the excess away. Switch FunctionsFrom left to right, the switches functions are;
- Multi gauge - Used to toggle between different gauge screens and acknowledge/dismiss warnings. - Heated rear screen - Hazards - Rear fog light - Fan - Manual override to turn the radiator fan on. 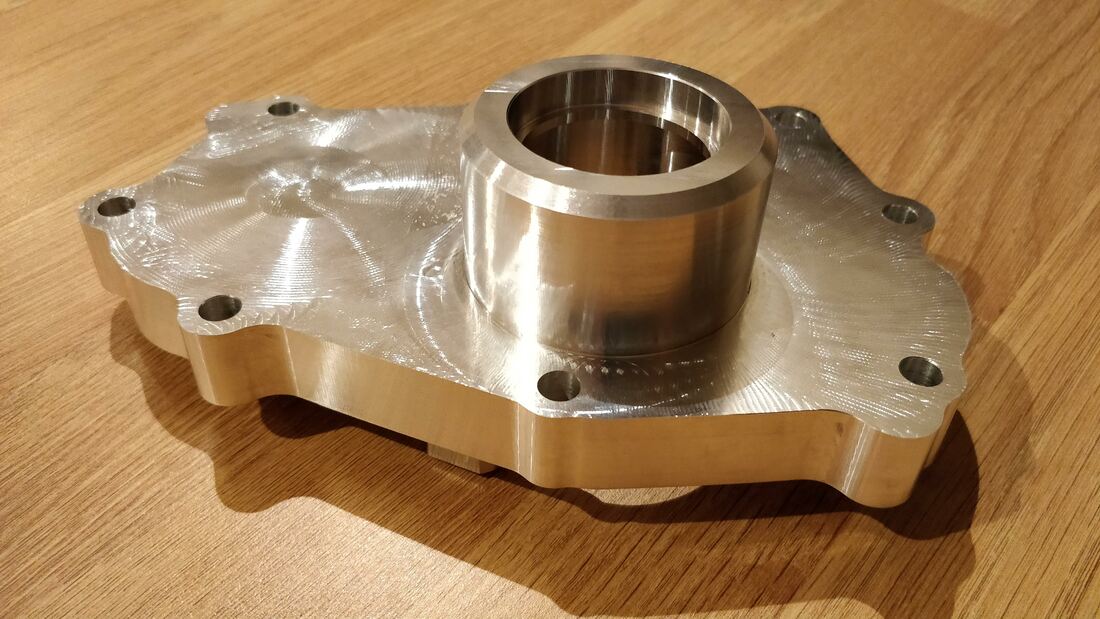 Having made good progress prototyping a supercharger conversion for the R1 motor, link to last post here I decided I would take the plunge and have the main casing part CNC machined. That proved to be a lot harder than expected. Finding a company willing to quote for the part was difficult. Most just didn't seem interested failing to return emails and calls before I had even disused a price with them.
Fortunately I discovered a guy in Greece who was able to make the part for a reasonable price in a short time frame. |